Accelerometer sensor உடன் இணைக்க பட்ட Servo மோட்டாரை Arduino mega 2560 உதவியுடன் கட்டுப்படுத்துவது.
Required Components
- Accelerometer sensor (MPU 6050) -1 no
- Arduino UNO board -1 no
- Jumper cable -4 no
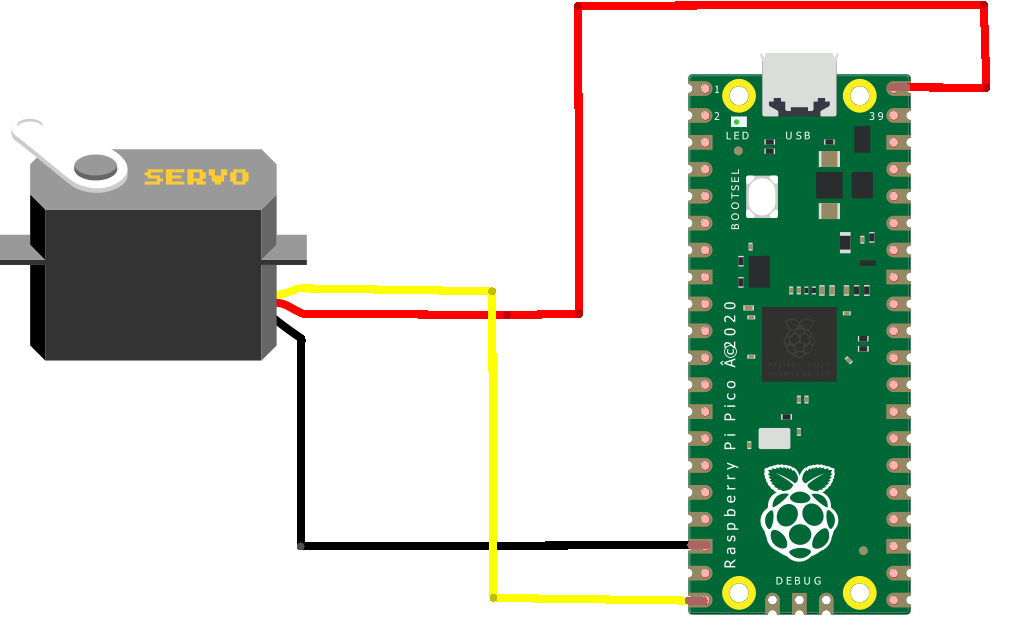
- Servo motor -1 no
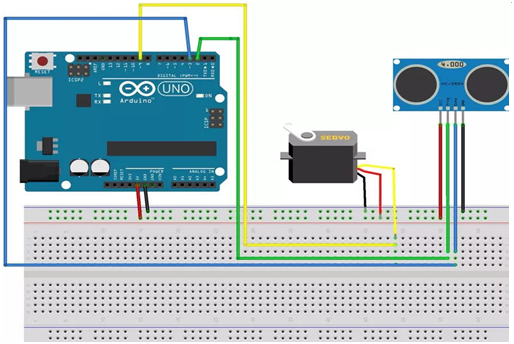
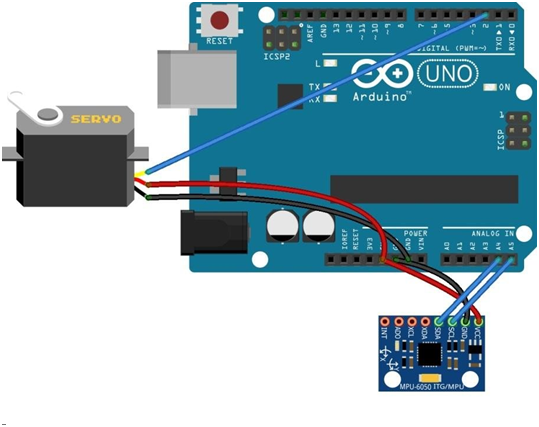
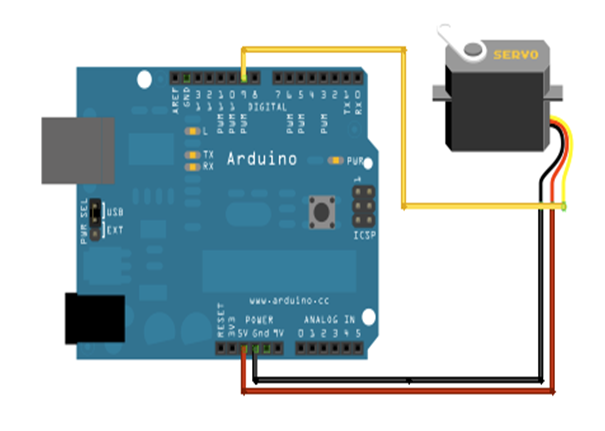
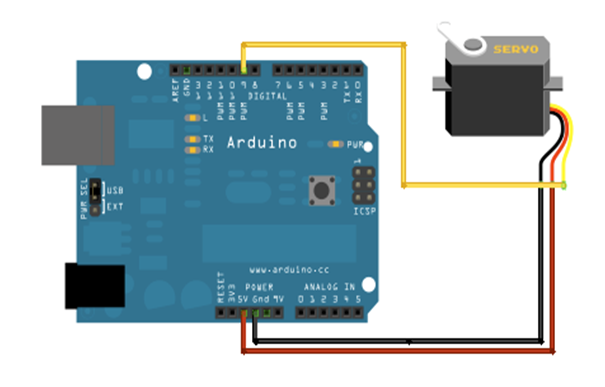
Circuit
Steps
- நாம் பயன்படுத்தும் உபகரணங்கள் சரியாக வேலை செய்கிறதா என்பதை உறுதி செய்து கொள்ளவும்.
- Accelerometer sensorல் உள்ள SDA மற்றும் SCL பின்களை Arduino வில் உள்ள SDA மற்றும் SCL பின்களுடன் இணைக்க வேண்டும்.
- Arduinoன் +5V மற்றும் ground சப்ளையை servo மோட்டார் மற்றும் Accelerometer sensor உடன் இணைக்க வேண்டும்.
- Servo மோட்டார் மற்றும் Accelerometer Sensor ஐ Bread board உடன் இணைக்க வேண்டும்.
- Servo மோட்டார் டேட்டா பின்னை Arduino mega 2560 வின் 2 வது pin உடன் இணைக்க வேண்டும்.
- Arduino program ஐ சரி பார்க்க வேண்டும்.
- மின்சுற்றை சரி பார்க்க வேண்டும்.
- Arduino program ஐ ரன் செய்ய வேண்டும்.
Arduino Program
#include <Wire.h>
#include <MPU6050.h>
#include <Servo.h>
Servo sg90;
int servo_pin = 2;
MPU6050 sensor ;
int16_t ax, ay, az ;
int16_t gx, gy, gz ;

void setup ()
{
  sg90.attach ( servo_pin );
  Wire.begin ( );
  Serial.begin  (9600);
  Serial.println  ( "Initializing the sensor" );

  sensor.initialize ( );
  Serial.println (sensor.testConnection ( ) ? "Successfully Connected" : "Connection failed");
  delay (1000);
  Serial.println ( "Taking Values from the sensor" );
  delay (1000);
}

void loop ()
{
  sensor.getMotion6 (&ax, &ay, &az, &gx, &gy, &gz);
  ax = map (ax, -17000, 17000, 0, 180) ;
  Serial.println (ax);
  sg90.write (ax);
  delay (200);
}
Usage
- அலைபேசி (Mobile phones).
- ட்ரோன் நிழற்படக்கருவி உறுதிப்படுத்தல் (Drone camera stabilization).
- ரோட்டேட்டர் இயந்திரத்தில் உள்ள தவறுகளைக் கண்டறிய (To detect faults in rotator machine).
- இலக்கமுறை நிழற்படக்கருவியின் திரையில் செங்குத்தான நிலையில் காட்சி படிமம் காண (To display images in an upright position on screens of digital cameras).