Creating DC Motor Control program using Arduino UNO
Required Components
- DC motor -1 no
- L293D Driver sheild -1 no
- Arduino UNO -1 no
- Bread board -1 no
- Connecting wires -1 set
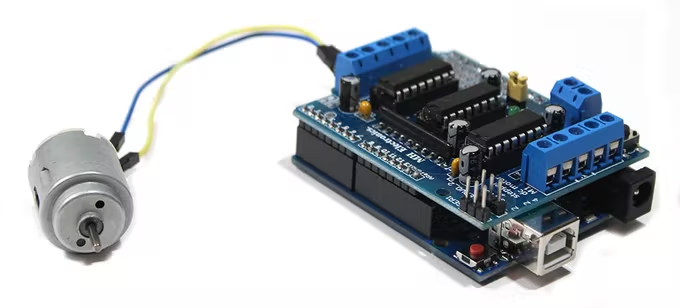
Circuit
Steps
- Make sure the components are working properly.
- Connect the Motor Driver Shield to the Arduino UNO Board.
- Connect the DC motor to the Shield Pin 3.
- Connect the 9V Battery to the L293D Motor Driver carefully.
- Check the Circuit Connections.
- Check the Arduino program.
- Run the Arduino program
Arduino Program
#include <AFMotor.h>
AF_DCMotor motor1(3);

void setup()
{
  motor1.setSpeed(200);
  motor1.run(RELEASE);
}

void loop()
{
  motor1.run(FORWARD);
  motor1.setSpeed(255);
  delay(1000);
  motor1.run(BACKWARD);
  motor1.setSpeed(255);
  delay(1000);
}
Usage
- Moving wheel Robot
- Rotating Robot Arms
- For pump related applications