Arduino MEGA2560வை பயன்படுத்தி 2 Encoder மோட்டார்களை துல்லியமாக கட்டுப்படுத்துவது.
Required Components
Arduino MEGA2560 -1 no
Motor control shield(L293D) -1 no
Micro Metal Gear Motor with Encoder -2 no
Motor Wheel -2 no
Bread Board -1 no
Jumper Wires(Male to Male) -11 no
Voltage Converter(5V-3.3V) -1 no
5V Battery -1 no
USB cable -1 no
Steps
நாம் பயன்படுத்தும் உபகரணங்கள் சரியாக வேலை செய்கிறதா என்பதை உறுதி செய்து கொள்ளவும்.
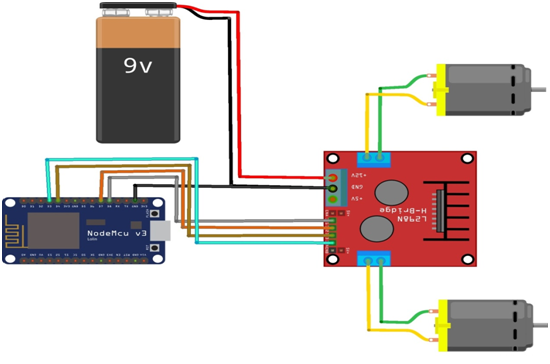
Motor control shield(L293D) உடன் +5V battery இணைக்க வேண்டும்.
+5V பேட்டரி இணைப்புகளை சரியாகவும் கவனமாகவும் இணைக்க வேண்டும்.
Motor control shield(L293D) M4ஐ முதலாவது மோட்டார் M1, M2 உடனும், Motor control shield(L293D) M3ஐ இரண்டாவது மோட்டார் M1, M2 உடனும் இணைக்க வேண்டும்.
Arduino 5V, gnd ஐ voltage converter V IN,gnd உடன் கவனமாக இணைக்க வேண்டும்.
voltage converter V OUT,gnd ஐ முதலாவது மோட்டார் VCC, gnd உடனும், இரண்டாவது மோட்டார் VCC, gnd உடனும் கவனமாக இணைக்க வேண்டும்.
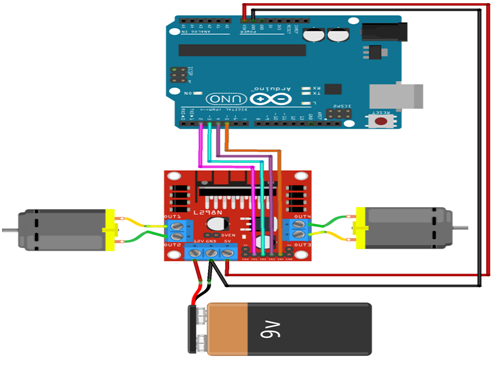
முதலாவது மோட்டார் C1,C2 பின்களை Arduino MEGA2560 18,19 பின்களுடனும், இரண்டாவது மோட்டார் C1,C2 பின்களை Arduino MEGA2560 20,21 பின்களுடனும் இணைக்க வேண்டும்.
Arduino program ஐ சரி பார்க்க வேண்டும்.
மின்சுற்றை சரி பார்க்க வேண்டும்.
Arduino program ஐ ரன் செய்ய வேண்டும்.
Arduino Program
#include <AFMotor.h>
#include <Encoder.h>
AF_DCMotor motor1(4);
AF_DCMotor motor2(3);
Encoder myEnc1(21,20);
Encoder myEnc2(18,19);
long oldPosition1  = -999;
long oldPosition2  = -999;
long m1Pos = 0;
long m1Dir = 0;
long m2Pos = 0;
long m2Dir = 0;
long md1=2000;
long md2=2000;

void setup()
{
  Serial.begin(9600);
  Serial.println("Motor test!");

  motor1.setSpeed(200);
  motor2.setSpeed(200);
  motor1.run(RELEASE);
  motor2.run(RELEASE);
  motor1Move(md1,0);
  motor2Move(md2,0);
}

void loop()
{
  checkMotor1();
  checkMotor2();
  delay(5);
}

void motor1Move(int d1,int d2)
{
  m1Pos=d1;
  m1Dir = d2;
  if (d2==0)
  {
    motor1.run(FORWARD);
  }
  else if (d2==1)
  {
    motor1.run(BACKWARD);
  }
}

void motor2Move(int d1,int d2)
{
  m2Pos=d1;
  m2Dir = d2;
  if (d2==0)
  {
    motor2.run(FORWARD);
  }
  else if (d2==1)
  {
    motor2.run(BACKWARD);
  }
}

void checkMotor1()
{
  long newPosition1 = myEnc1.read();
  if (m1Dir==0)
  {
    if ( newPosition1>m1Pos)
    {
      m1Pos=0;
      motor1.run(RELEASE);
      myEnc1.write(0);
      motor1Move(md1,1);
    }
  }
  else
  {
    if ( abs(newPosition1)>m1Pos)
    {
      m1Pos=0;
      motor1.run(RELEASE);
      myEnc1.write(0);

      motor1Move(md1,0);
    }
  }
}

void checkMotor2()
{
  long newPosition2 = myEnc2.read();
  if (m2Dir==0)
  {
    if ( newPosition2>m2Pos)
    {
      m2Pos=0;
      motor2.run(RELEASE);
      myEnc2.write(0);
      motor2Move(md2,1);
    }
  }
  else
  {
    if ( abs(newPosition2)>m2Pos)
    {
      m2Pos=0;
      motor2.run(RELEASE);
      myEnc2.write(0);
      motor2Move(md2,0);
    }
  }
}