Humidity Sensor ஐ Arduino UNO வை பயன்படுத்தி கட்டுப்படுத்துவது.
Required Components
- Humidity Sensor(DHT22) -1 no
- Arduino UNO -1 no
- Connecting wires -1 set
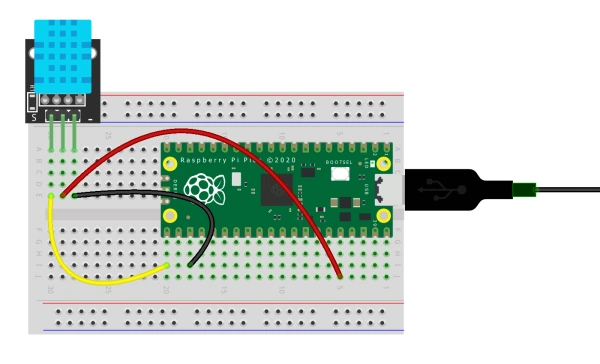
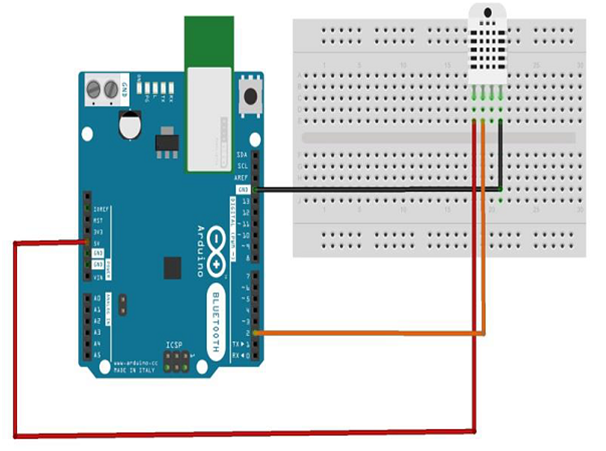
Circuit
Steps
- நாம் பயன்படுத்தும் உபகரணங்கள் சரியாக வேலை செய்கிறதா என்பதை உறுதி செய்து கொள்ளவும்.
- Humidity Sensor உடன் Arduino UNO வை இணைக்க வேண்டும்.
- Arduino UNO பின்னான 2 ஐ Humidity Sensor உடன்இணைக்க வேண்டும்.
- Humidity Sensor உடன் +5V மற்றும் Ground ஐ இணைக்க வேண்டும்.
- Arduino program ஐ சரி பார்க்க வேண்டும்.
- மின்சுற்றை சரி பார்க்க வேண்டும்.
- Arduino program ஐ ரன் செய்ய வேண்டும்.
Arduino Program
#include "DHT.h"
#define DHTPIN 2
#define DHTTYPE DHT22
DHT dht(DHTPIN, DHTTYPE);

void setup()
{
  Serial.begin(9600);
  Serial.println("DHTxx test!");
  dht.begin();
}

void loop( )
{
  delay(2000);
  float h = dht.readHumidity();
  float t = dht.readTemperature();
  float f = dht.readTemperature(true);
  if (isnan(h) || isnan(t) || isnan(f))
  {
    Serial.println("Failed to read from DHT sensor!");
    return;
  }
  float hif = dht.computeHeatIndex(f, h);
  float hic = dht.computeHeatIndex(t, h, false);
  Serial.print ("Humidity: ");
  Serial.print (h);
  Serial.print (" %\t");
  Serial.print ("Temperature: ");
  Serial.print (t);
  Serial.print (" *C ");
  Serial.print (f);
  Serial.print (" *F\t");
  Serial.print ("Heat index: ");
  Serial.print (hic);
  Serial.print (" *C ");
  Serial.print (hif);
  Serial.println (" *F");
}
Usage
- தொழில்துறை செயல்முறை மற்றும் கட்டுப்பாட்டு அமைப்புகள்(Industrial
process &control systems)
- அலுவலக ஆட்டோமேஷன்(Office
automation)
- துணி உலர்த்தி(Clothes dryer)
- நுண்ணலை அடுப்பு(Microwave
ovens)
- அச்சுப்பொறிகள்(Printers)